My kitchen table turned into a craft station the afternoon before Thanksgiving, and suddenly my kids stopped asking what was for dinner and just started creating. I pulled out construction paper and markers and paint, things I had lying around anyway. Thanksgiving crafts seemed like something that required Pinterest planning and special materials, but my kids didn’t care about that. They just wanted to make something with their hands in a way they usually don’t. No screens. No directions. Just the sound of scissors cutting and them figuring out what they wanted to make.
What surprised me was how quiet it became. Not stressed, but focused. My daughter made a turkey from a paper plate. My son glued leaves together. Nothing perfect. Everything honest. By evening our table looked alive.
1. Paper Plate Turkeys
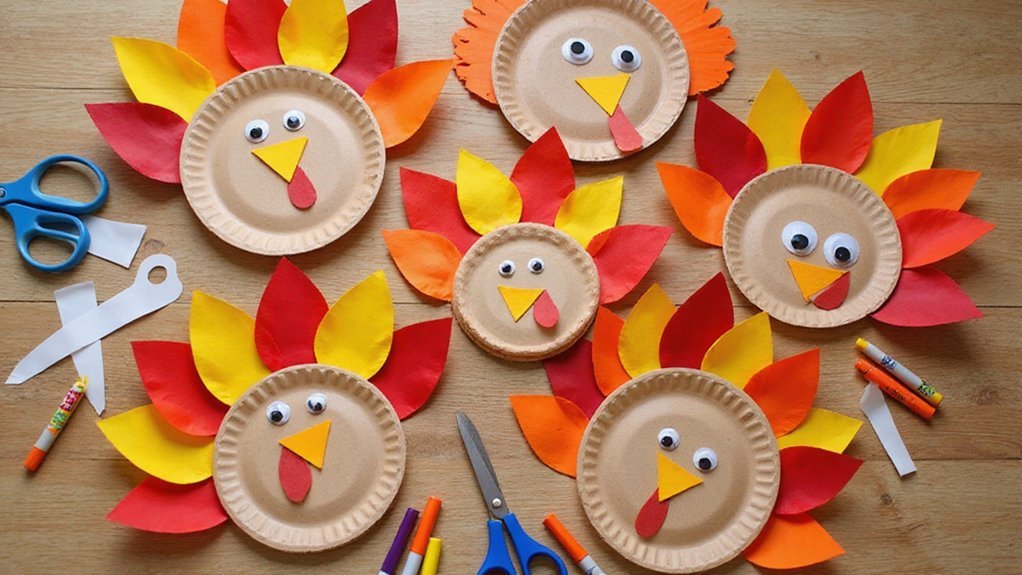
I’ll walk you through creating a delightful paper plate turkey that kids can make in minutes. Start by having your child paint a paper plate brown or leave it white. Next, they’ll cut colorful feathers from construction paper—reds, oranges, yellows, and greens work beautifully. Glue these feathers around the plate’s back edge, fanning them outward.
For the turkey’s head, use a smaller circle of brown paper or a pom-pom. Attach it to the plate’s front with glue. Add googly eyes and a small orange triangle for the beak. You can also create a wattle using red tissue paper or markers.
This craft requires minimal supplies and teaches basic scissor skills. Kids finish within 20 minutes, and you’ll have an adorable decoration perfect for displaying on your refrigerator or Thanksgiving table.
Also read: 16 Simple Thanksgiving Activities to Entertain Kids
2. Handprint Thankful Tree
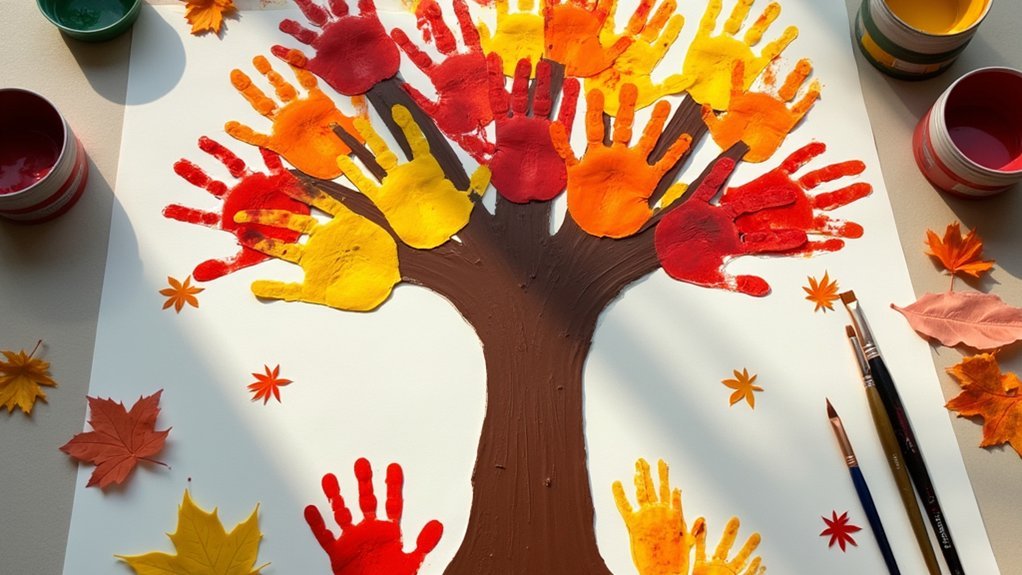
Creating a handprint thankful tree brings gratitude to life in a way that’s both meaningful and visually striking.
I’ll guide you through this simple project. First, draw a tree trunk and branches on a large poster board or kraft paper. Have your child trace their hand multiple times on colored paper, then cut out each handprint. On every handprint, write something you’re grateful for—family, friends, pets, or favorite foods.
Glue the handprints onto the branches, creating a colorful canopy. As your child adds each one, discuss why that particular thing matters. This craft serves double duty: it produces beautiful wall décor while encouraging genuine reflection about life’s blessings.
Your thankful tree becomes a wonderful keepsake that captures what gratitude looks like through your child’s eyes.
3. Painted Pinecone Pilgrims
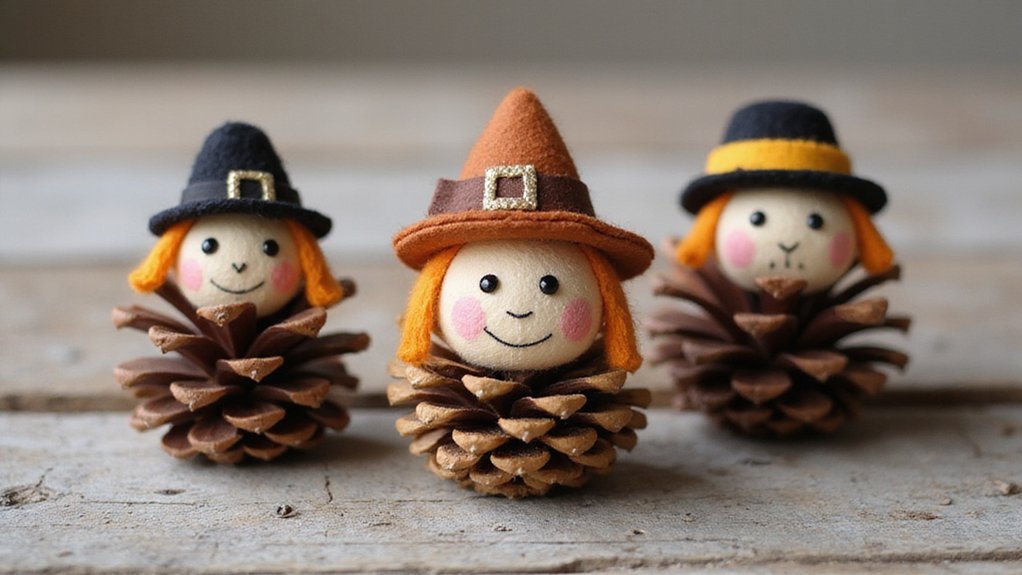
Pinecone pilgrims offer a charming way to bring Thanksgiving history into your craft time. I’ll guide you through creating these delightful decorations that celebrate the season’s spirit.
Start by gathering pinecones, paint, and small craft supplies. Paint the pinecone body with black or brown acrylic paint for the pilgrim’s clothing. Once dry, I recommend adding a white painted band around the middle to represent a collar or belt.
For the head, attach a small wooden bead or foam ball using hot glue. Paint it flesh-colored, then add facial features with markers or paint. Create a pilgrim hat from black construction paper and glue it on top.
Your child can display these charming figures on shelves or windowsills, creating a festive Thanksgiving arrangement that celebrates early American traditions.
4. Cornucopia Collage
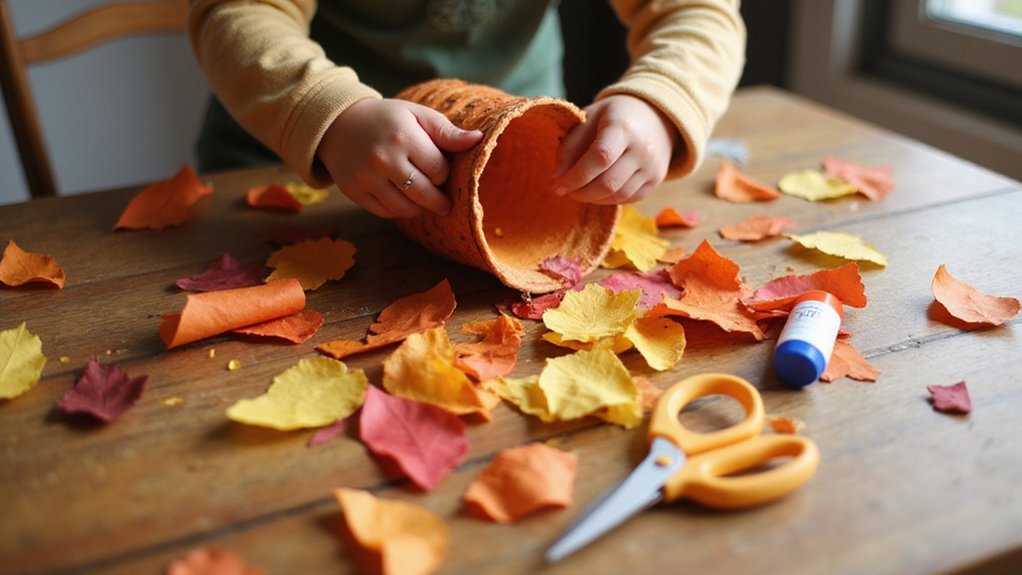
After crafting individual pilgrim figures, you can build on that creative momentum with a cornucopia collage that showcases the harvest’s abundance. I’d recommend gathering magazines, colored paper, and scissors to create this festive piece.
Your child can cut out pictures of fruits, vegetables, and grains, then arrange them spilling from a cornucopia shape they’ve drawn or printed. They’ll paste everything onto a poster board background, layering items for depth and visual interest.
This project develops fine motor skills and teaches kids about traditional harvest foods. The beauty lies in its flexibility—there’s no wrong way to arrange the abundance. Once finished, they’ve created a vibrant decoration that captures Thanksgiving’s spirit.
5. Feather Bookmarks
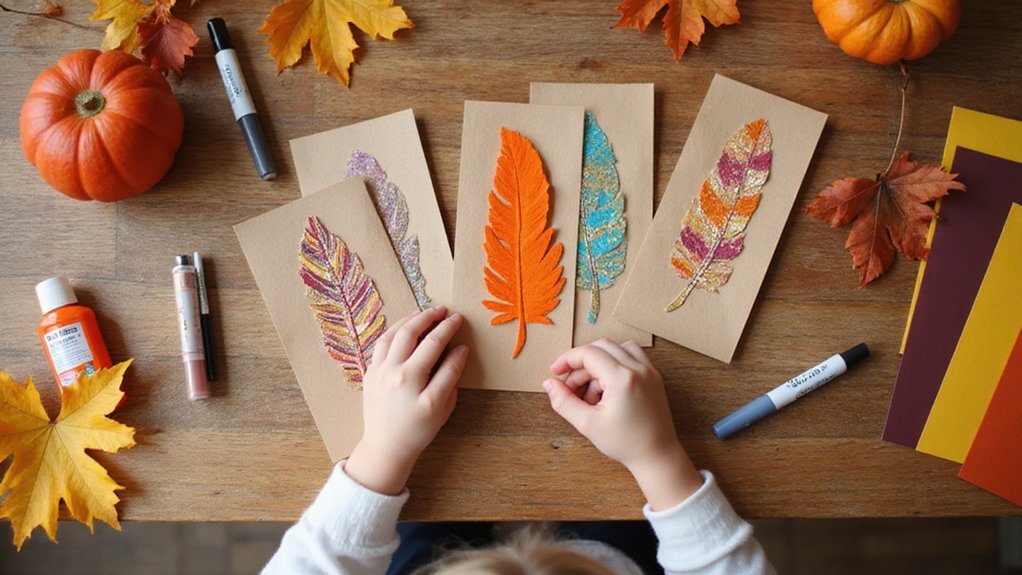
Feather bookmarks offer a simple yet elegant craft that’ll delight young readers. I’ve found this project requires minimal supplies: colorful feathers, cardstock, glue, and markers.
First, cut your cardstock into bookmark-sized strips. Have your child glue a feather along one edge, positioning it vertically. They can decorate the remaining space with autumn-themed drawings—turkeys, leaves, or pumpkins work wonderfully.
Once the glue dries, laminate the bookmarks for durability, or simply let them air-dry. Your child might add a tassel at the bottom using yarn or ribbon for extra flair.
These bookmarks make thoughtful gifts for classmates or family members. They’re practical, personalized, and showcase your child’s creativity while celebrating the season.
6. Gratitude Jar Decorations
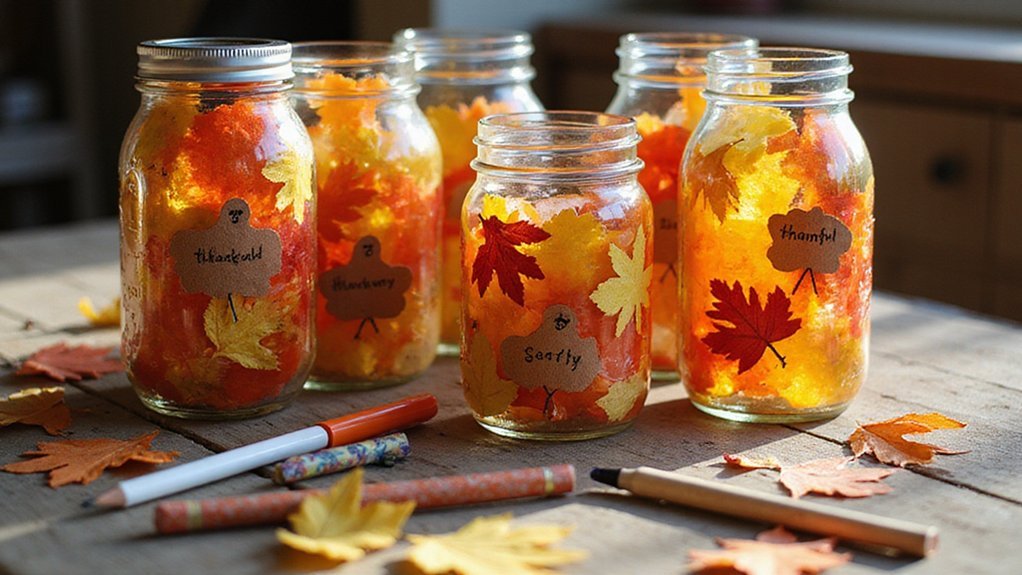
A gratitude jar becomes a meaningful centerpiece when you and your child decorate it together. I find that letting kids personalize their jars encourages them to use them throughout the season.
You’ll need a clean mason jar, markers, paint, and decorative materials like stickers or glitter. Your child can draw autumn leaves, turkeys, or cornucopias directly on the glass. Alternatively, you can wrap colored paper around the jar and let them embellish it with cutouts and designs.
Once decorated, your child writes what they’re grateful for on small paper slips and drops them inside. The jar serves as both a beautiful decoration and a tangible reminder of appreciation. Reading these notes together during Thanksgiving dinner creates special family moments.
7. Clothespin Corn Husks
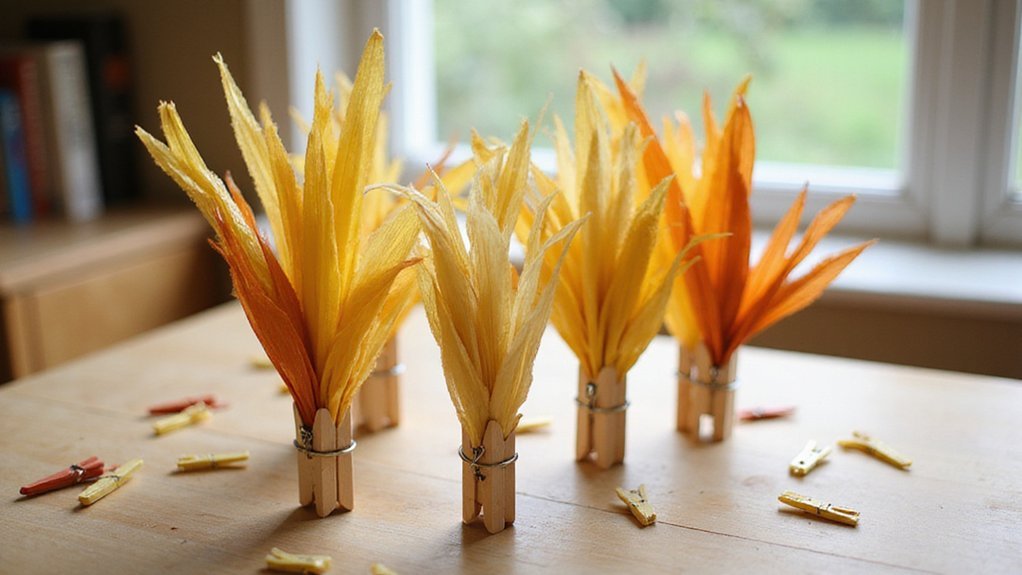
This simple craft transforms ordinary clothespins into charming corn decorations that kids can make in minutes. I’ll guide you through the process.
Gather yellow construction paper, clothespins, and glue. Have your child wrap the yellow paper around each clothespin, securing it with glue to create the corn’s body. Next, cut thin green paper strips for husks and glue them around the top, layering them naturally.
Your child can embellish the corn with markers, adding details or patterns. These crafts work wonderfully as table decorations or gift toppers.
The beauty of this project lies in its simplicity. Kids develop fine motor skills while creating something they’ll proudly display. The finished corn pieces cost almost nothing, making this an economical craft option for your Thanksgiving celebration.
8. Leaf Rubbings and Pressing
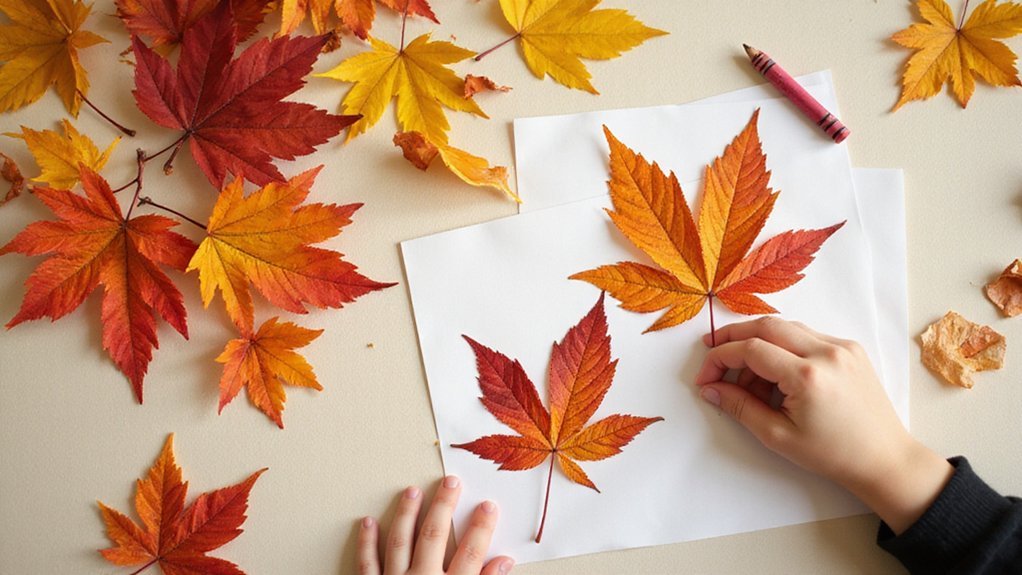
Nature’s autumn palette comes alive through leaf rubbings and pressing—two timeless techniques that capture fall’s beauty on paper. I’ll guide you through both methods.
For rubbings, I place a leaf under thin paper and gently rub a crayon across the surface, revealing intricate vein patterns. It’s simple and produces striking results.
Pressing requires more patience but less effort. I layer leaves between newspaper pages, stack heavy books on top, and wait two weeks. Once dried, these flattened leaves become perfect for collages or bookmarks.
Both techniques teach you about leaf structure while creating keepsakes. You’ll discover how differently colored leaves produce varying effects—golden yellows versus deep crimsons. These crafts require minimal supplies: paper, crayons, leaves, and time. They’re ideal solo projects that connect you directly with autumn’s natural artistry.
9. Tissue Paper Stained Glass Windows
Colorful tissue paper transforms ordinary windows into luminous art installations that rival traditional stained glass. I’ll show you how to create this stunning craft that kids can complete independently.
You’ll need black construction paper, tissue paper scraps, scissors, and glue. First, have your child cut shapes from the black paper to create a frame—think autumn leaves, turkeys, or cornucopias. Next, they’ll cut tissue paper into smaller pieces and glue them behind the cutouts.
When you tape the finished design to a sunny window, light streams through the tissue, creating a glowing masterpiece. The effect is magical and truly impressive.
This craft develops fine motor skills while producing décor that brightens any room. Kids love watching their creation come alive when sunlight hits it.
10. Clay Pumpkin Sculptures
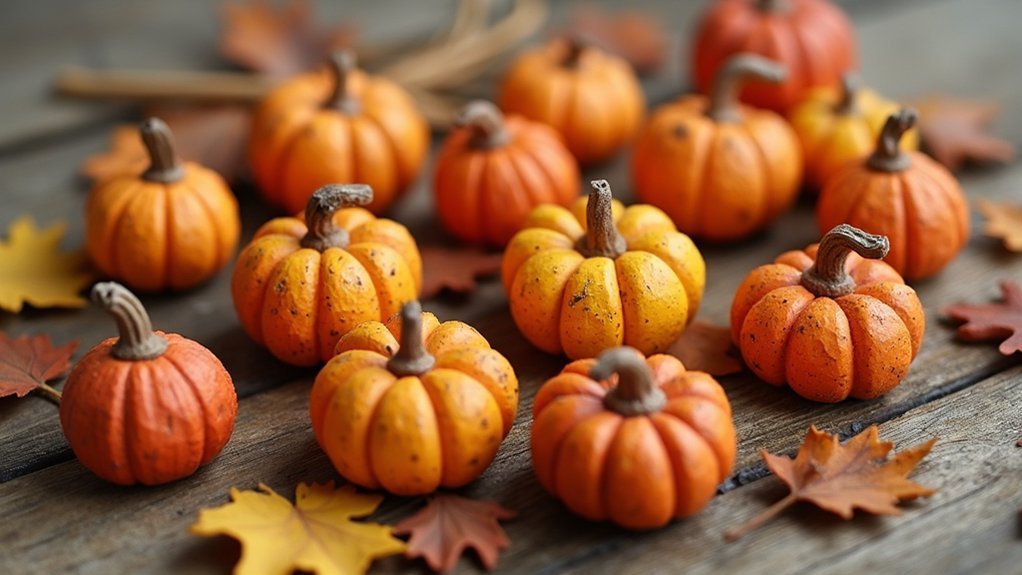
While windows offer a luminous display, three-dimensional clay sculptures bring Thanksgiving décor to life in a different way. I’ll guide you through creating pumpkins that’ll showcase your child’s artistic talent.
Start by rolling air-dry clay into a ball, then gently shape it into a pumpkin form. Your child can use a toothpick to carve vertical ridges along the surface, creating authentic pumpkin texture. For the stem, roll a thin clay piece and attach it to the top with a bit of water.
Once your sculpture dries completely, you can paint it orange, add green leaves, or leave it natural. These sculptures make wonderful table centerpieces or shelf decorations. They’re durable enough to display year after year, becoming cherished keepsakes your child will treasure.
11. Paper Chain Garland
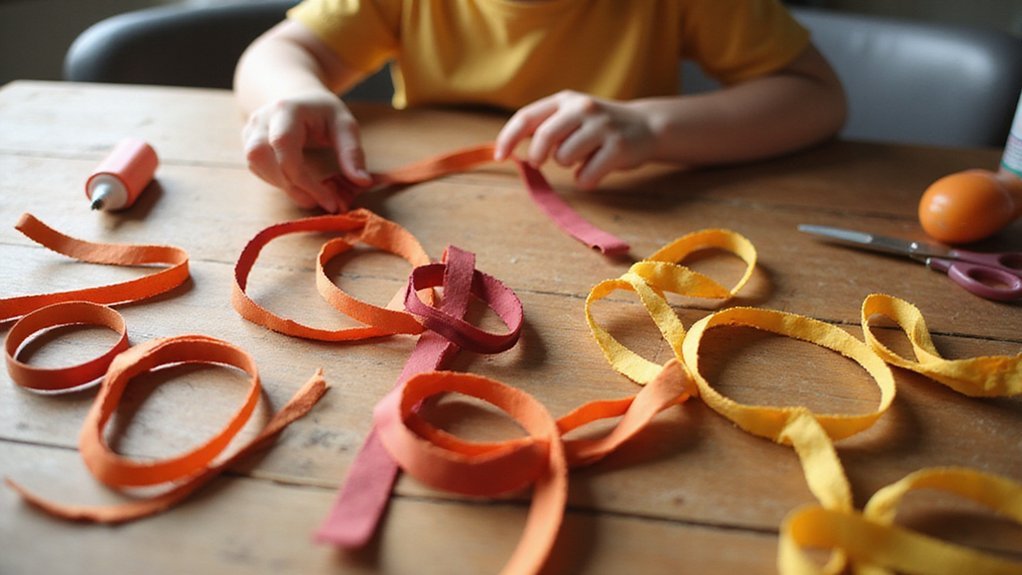
As we shift from three-dimensional crafts to decorative garlands, paper chains offer a simple yet effective way to brighten your space. I’ve found that this craft requires minimal supplies—just colored paper, scissors, and glue or tape.
Your child can cut paper into strips and link them together, creating a customizable garland for any room. The repetitive motion strengthens fine motor skills while keeping them engaged for hours. I recommend letting kids choose their own color combinations to encourage creativity and decision-making.
Once completed, these chains drape beautifully across doorways, windows, or mantels. They’re lightweight, affordable, and totally reversible if you change your mind about placement. Best of all, your child will feel genuine pride displaying their handmade decoration throughout the holiday season.
12. Fingerprint Harvest Scene
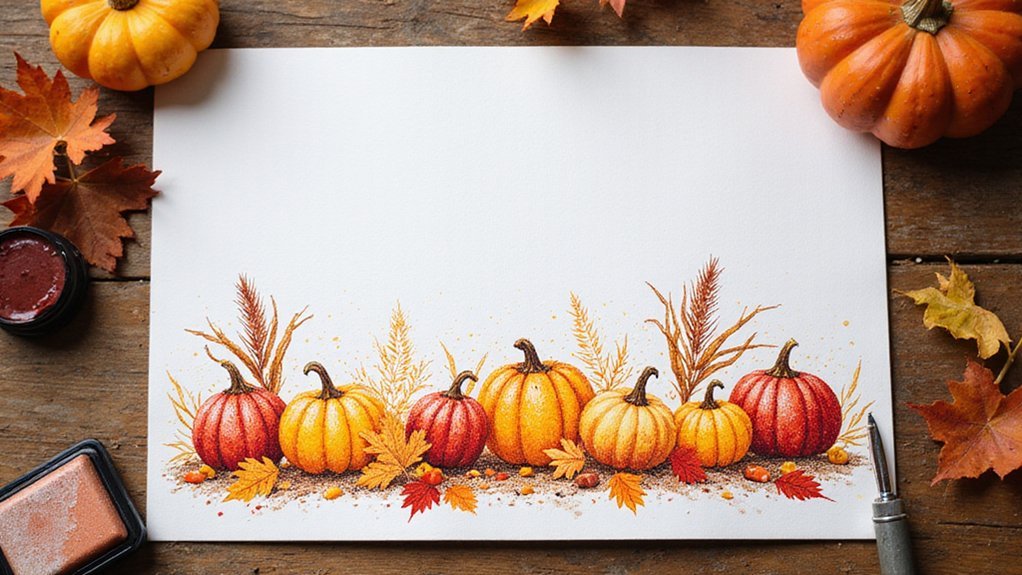
Fingerprint painting transforms your child’s fingertips into tiny brushes that create a charming autumn tableau. I’ll guide you through this simple yet delightful craft that requires minimal supplies.
You’ll need washable ink pads in harvest colors—orange, red, brown, and yellow—plus paper and fine-tip markers. Have your child press their fingertips onto paper to form pumpkins, apples, corn, and leaves. Once the fingerprints dry, they can add details using markers: stems, faces, and textures.
This activity develops fine motor skills while encouraging creativity. Your child controls each fingerprint’s placement, deciding the scene’s composition. Display the finished artwork on your refrigerator or frame it as a seasonal decoration. It’s an engaging craft that produces beautiful results without requiring advanced artistic ability.
13. Foam Cup Candle Holders
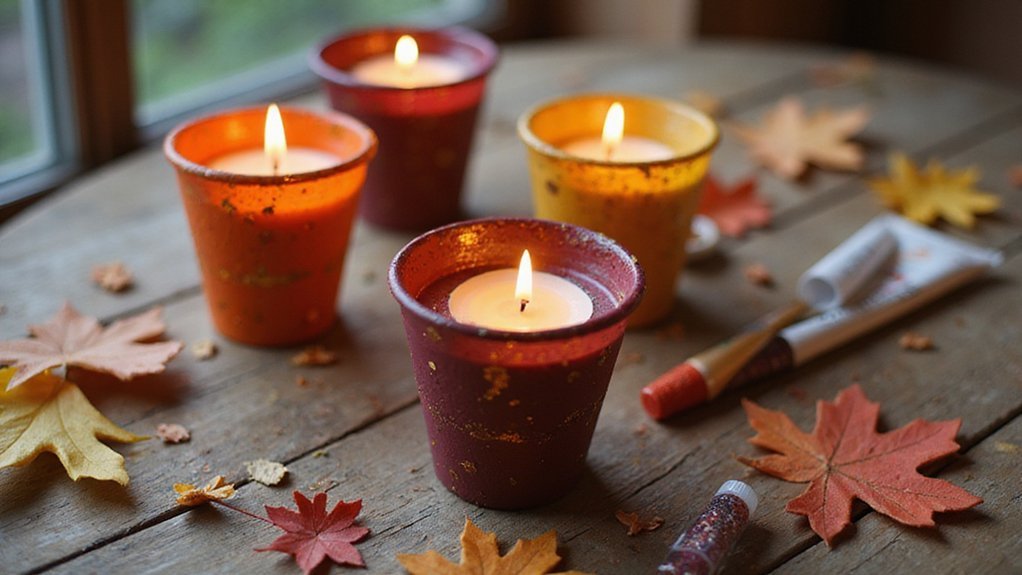
Transform disposable foam cups into festive candle holders that’ll brighten your Thanksgiving table. You’ll need foam cups, markers, paint, and battery-operated candles for safety.
Start by decorating your cups with autumn designs. I recommend drawing fall leaves, turkeys, or cornucopias with markers. You can also paint them in warm colors like orange, brown, and yellow for extra flair.
Once your designs dry, carefully place a battery-operated candle inside each cup. The foam diffuses the light beautifully, creating a warm glow without fire hazards.
I suggest arranging these holders down your table’s center for an inviting atmosphere. Kids enjoy this project because it’s simple, creative, and produces impressive results. Your guests will appreciate the homemade touch these charming candle holders bring to your celebration.
14. Autumn Leaf Suncatchers
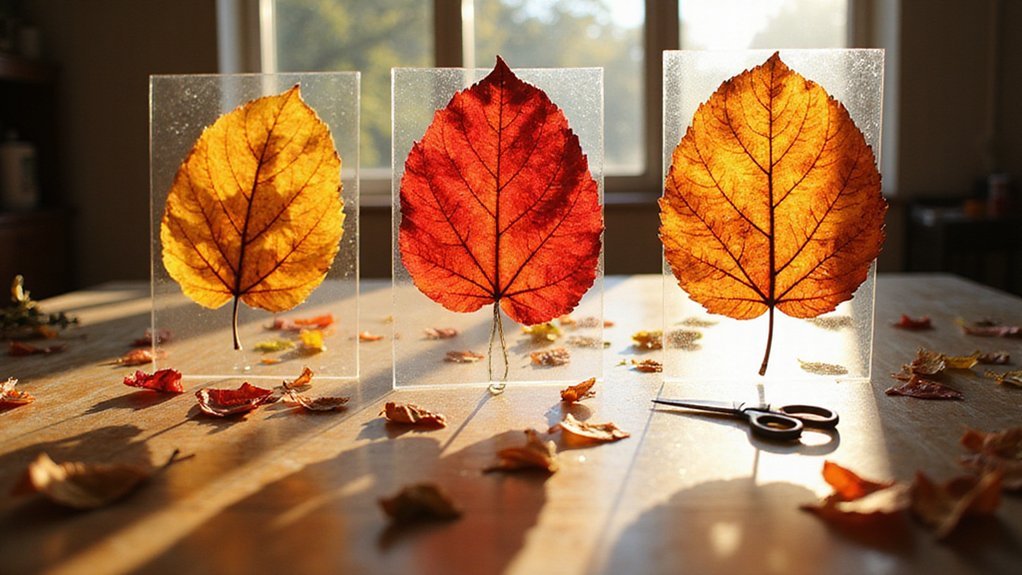
Suncatchers bring autumn’s vibrant colors to your windows in a way that captures light beautifully. I’ll walk you through creating them with your child.
You’ll need colored tissue paper, contact paper, and real or artificial leaves. Cut leaf shapes from tissue paper, or use actual leaves pressed between layers. Arrange these pieces on one side of clear contact paper, then press another sheet on top to seal everything together.
Trim the edges neatly, punch a hole at the top, and thread string through for hanging. When sunlight streams through, the colors glow magnificently against your windows.
This craft teaches your child about light refraction while producing decorative pieces they’ll proudly display. It’s simple enough for independent work yet visually impressive.
15. Marble Painted Pumpkins

After decorating windows with glowing leaves, let’s move to a tactile project that’ll captivate your child’s creativity. Marble painted pumpkins combine messy fun with stunning results.
Here’s what you’ll need: small pumpkins, acrylic paint, marbles, and a shallow box or baking pan. Pour different paint colors into the box, then place marbles inside. Your child positions a pumpkin in the box and tilts it back and forth, watching marbles roll through the paint and create unique patterns across the surface.
The beauty of this craft lies in its unpredictability—no two pumpkins look identical. Kids love the sensory experience while developing fine motor skills through tilting and rotating. Once dry, these painted pumpkins become striking Thanksgiving decorations that your child created entirely themselves.
16. String Art Cornucopia
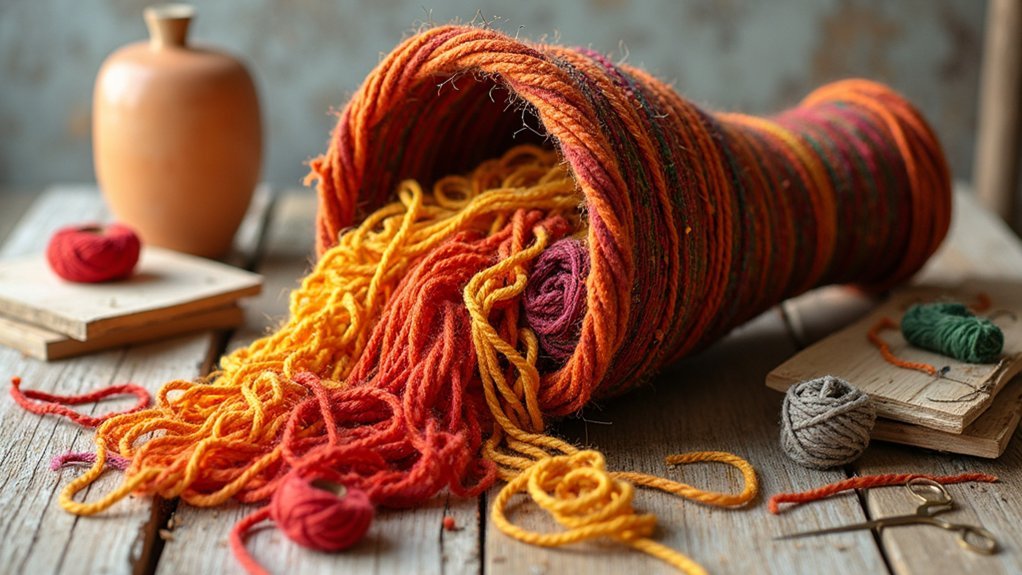
Combining geometry with festive symbolism, string art cornucopias offer kids a chance to explore tension, pattern, and spatial reasoning. You’ll need a wooden board, nails, string, and markers to create this striking decoration.
Start by drawing a cornucopia outline on your board, then hammer nails around the perimeter. I’ve found that spacing nails evenly—about half an inch apart—works best for consistent patterns.
Next, you’ll wrap string around the nails in various directions, creating geometric designs that fill the horn shape. Experiment with different colors to represent autumn produce spilling from the cornucopia’s opening.
This project teaches kids about angles and symmetry while developing fine motor control. The tactile experience of wrapping string and the visual satisfaction of watching patterns emerge make it engaging and rewarding.
17. Natural Elements Wreath

While string art explores geometric precision, a natural elements wreath invites you to embrace the organic beauty already surrounding you. I’ll guide you through creating a stunning piece using materials you’ve probably overlooked in your own yard.
Start by collecting leaves, twigs, acorns, and small branches during your autumn walks. You’ll need a foam or cardboard base—a paper plate works perfectly. Arrange your gathered items in a circular pattern, experimenting with color and texture combinations. I recommend using hot glue or craft adhesive to secure everything firmly.
The beauty of this project lies in its unpredictability. No two wreaths are identical, and that’s precisely what makes yours special. Hang your creation on your front door or display it indoors as a natural centerpiece.
Frequently Asked Questions
What Age Groups Are These Crafts Suitable For, and Can Toddlers Participate Safely?
I’d recommend these crafts for children ages 4 and up who can follow basic instructions independently. Toddlers can participate with close supervision, but I suggest choosing simpler projects using child-safe materials like paper, crayons, and non-toxic glue to guarantee their safety.
How Long Do These Crafts Typically Take to Complete From Start to Finish?
I’d say most Thanksgiving crafts take 15 to 45 minutes, depending on complexity. Simple projects like paper turkeys or leaf collages you’ll finish quickly, while more detailed crafts like painted pumpkins or decorative cornucopias demand extra time for drying.
What Is the Estimated Cost of Materials Needed for All Eighteen Craft Projects?
I can’t provide an exact cost estimate since I don’t have access to the specific craft projects or their material lists. However, I’d estimate you’ll spend $20-$40 total if you use supplies you’ve already got at home.
Can These Crafts Be Adapted for Children With Different Abilities or Sensory Sensitivities?
I’ll tell you that yes, you can absolutely adapt these crafts for different abilities. You’ll find that modifying materials, simplifying steps, and offering sensory alternatives like textured items or quiet activities makes them inclusive for every child.
How Should Finished Crafts Be Stored or Displayed to Preserve Them Throughout the Season?
I’d recommend you store delicate crafts in acid-free boxes away from sunlight and moisture. Display them on shelves or in shadow boxes where they’re protected from dust and handling. You’ll preserve their colors and condition throughout the entire season this way.
Conclusion
You’ll find that these seventeen crafts offer endless creative possibilities for your child this Thanksgiving season. Whether your kid’s painting pinecones, arranging autumn leaves, or crafting paper plate turkeys, they’re building confidence and fine motor skills while celebrating gratitude. Each project gives you a meaningful decoration to display and cherish. So gather your materials, clear your table, and watch your child transform simple supplies into treasured holiday memories they’ll be proud of for years to come.