The driveway sat empty most afternoons until I drew a chalk line one day and my kids started jumping over it. That single line became a game, then became something more. I added another line, then another, creating a path that twisted across the concrete. My daughter invented rules. My son added challenges. Within an hour, the whole driveway had transformed into something they couldn’t stop doing.
A chalk obstacle course for kids requires nothing but chalk and concrete. No equipment. No planning. Just the space you already have and permission to use it differently. What surprised me was how it pulled them outside, away from screens, moving their bodies in ways that felt like play instead of exercise. By evening they were tired in the good way, the kind that means they’d actually been present in their bodies all afternoon.
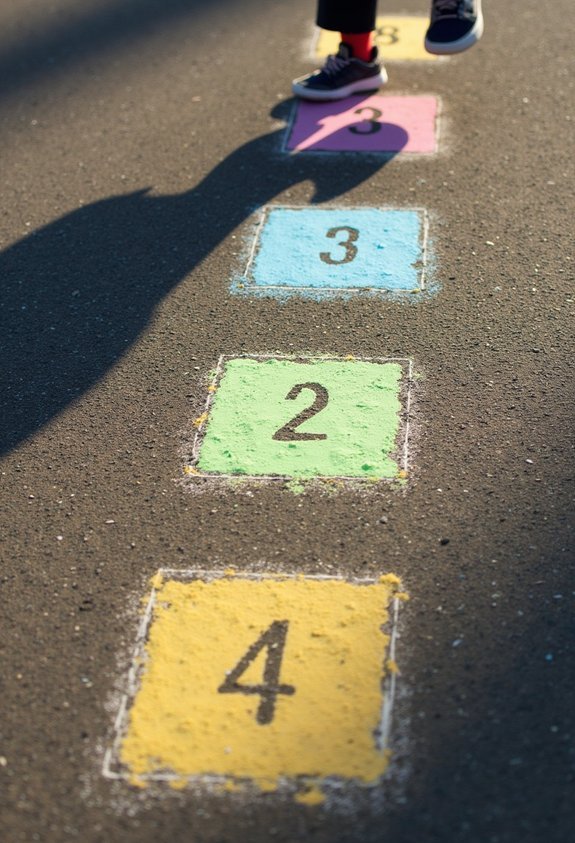
1. Classic Hopscotch Challenge
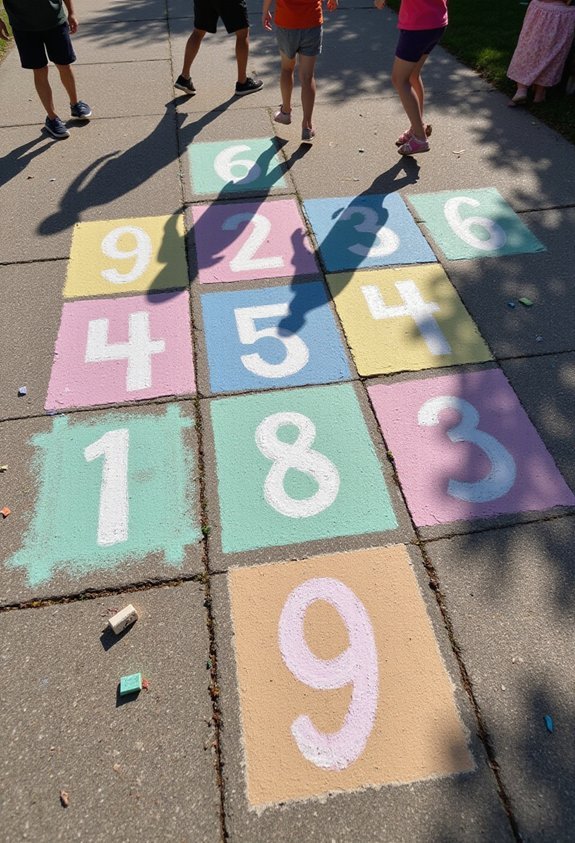
When you’re looking for a timeless chalk activity that’ll keep kids entertained for hours, hopscotch’s your answer. I’ve found this classic game requires minimal setup—just a chalk-drawn grid with numbered squares one through ten.
Here’s what makes it brilliant: kids develop balance, coordination, and focus while having genuine fun. They’ll hop on one foot through single squares and land on both feet for double squares, retrieving a tossed stone along the way.
I recommend drawing several courts with varying difficulty levels. Younger children benefit from larger squares and simpler patterns, while older kids enjoy intricate designs and speed challenges.
The beauty of hopscotch lies in its simplicity. No equipment needed beyond chalk and pavement. Kids can play independently or compete against friends, making it endlessly adaptable to any skill level or group size.
Also read : 16 Simple Thanksgiving Activities to Entertain Kids
2. Balance Beam Course
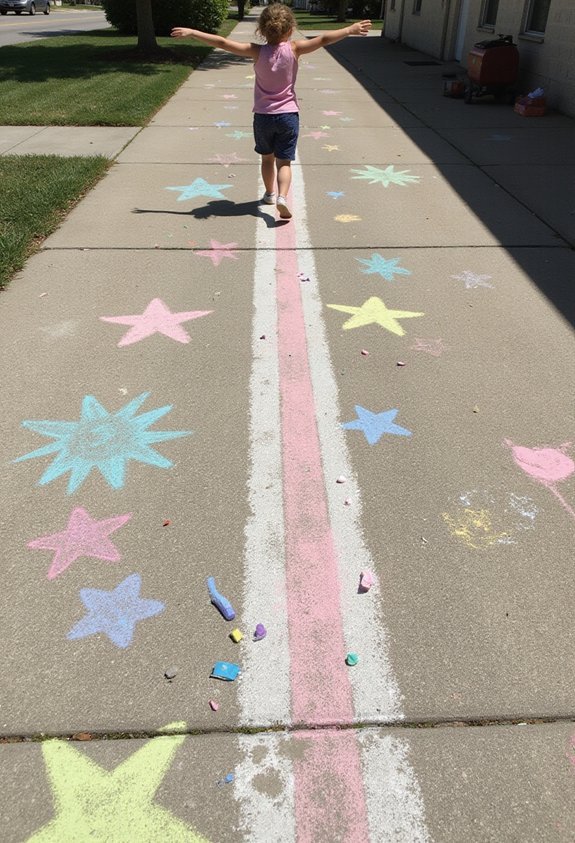
While hopscotch builds coordination through vertical movement, balance beam courses challenge kids to master stability and body control along a horizontal line. I’ll draw a straight chalk line—roughly 20 feet long—and watch your child walk it heel-to-toe, focusing on posture and balance.
You can increase difficulty by adding tasks: have them walk backward, hop on one foot, or toss a bean bag while traversing. Create variations with zigzag patterns or curved lines. I’ve found that kids naturally improve their proprioception and core strength through repeated attempts.
This course develops confidence alongside physical skills. Start with wider lines for younger children, gradually narrowing them as abilities progress. The simplicity of chalk makes it accessible anywhere, transforming any driveway into a training ground for balance mastery.
3. Zigzag Sprint Track
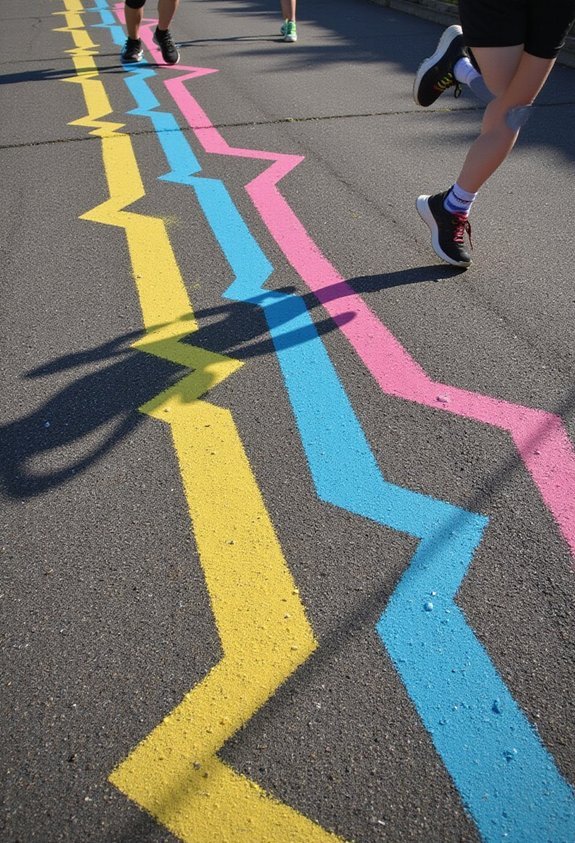
After mastering straight-line balance, I’ll challenge your child’s agility with a zigzag sprint track. This course sharpens their coordination and speed while keeping them entertained.
Draw two parallel chalk lines about three feet apart and roughly fifteen feet long. Create alternating diagonal lines connecting them, forming a zigzag pattern. Your child sprints through by weaving side to side, touching each diagonal as they go.
I recommend timing their runs to encourage improvement. They’ll naturally push themselves faster while maintaining control. You can adjust difficulty by widening or narrowing the zigzag angles, or extending the length.
This obstacle works wonderfully for building leg strength and directional awareness. Kids find it genuinely fun rather than feeling like exercise. It’s the perfect progression after balance work.
4. Jump Circle Progression
Once your child’s got their directional control down, I’ll introduce jump circles to build explosive power and footwork precision. Start by drawing progressively larger circles with chalk—beginning at two feet in diameter and expanding to five feet.
Your child jumps in and out of each circle using both feet, then progresses to single-leg hops. This develops ankle stability and coordination. Next, challenge them to hop around the circle’s perimeter rather than in and out, which requires balance and controlled movement.
Time their circuits to add a speed component. I recommend varying the circle sizes throughout your course so they’re constantly adapting their jump height and distance. This variation prevents boredom while building functional strength that carries over to sports and everyday activities.
5. Maze Adventure Path
Now that your child’s mastered explosive jumping movements, I’ll shift their focus toward strategic thinking and navigation skills with a maze adventure path. You’ll draw interconnected chalk lines on your driveway or sidewalk, creating twists and turns that challenge their problem-solving abilities. Start simple with basic patterns, then gradually increase complexity by adding dead ends and multiple route options. Your child navigates from start to finish while following the lines, developing spatial awareness and decision-making skills. This activity builds confidence as they learn to plan ahead and correct course mistakes independently. You can time their runs to encourage faster completion, or add rules like hopping on one foot to combine physical and mental challenges.
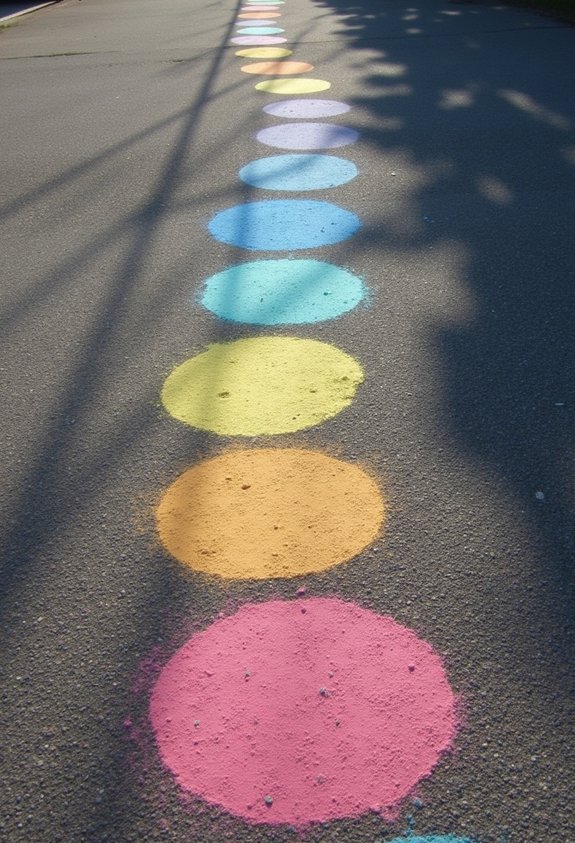
6. Stepping Stone Sequence
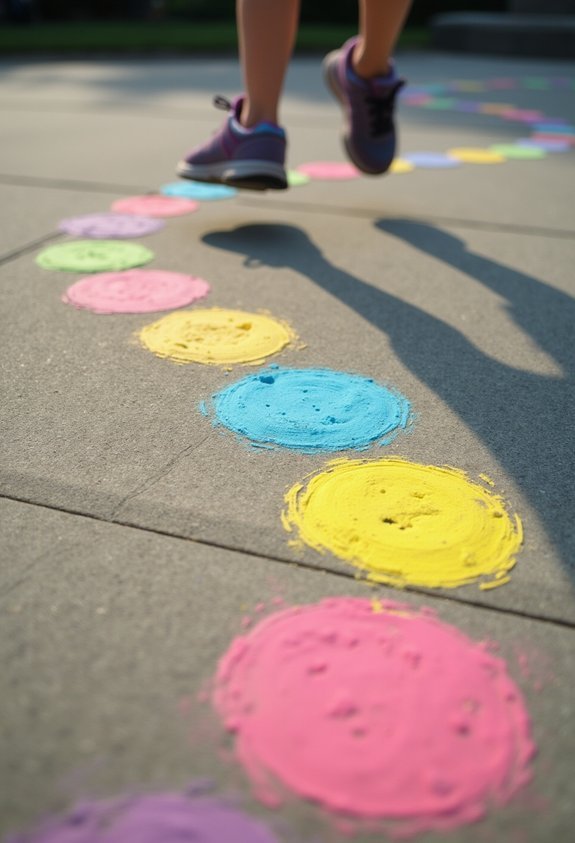
You’ll build your child’s balance and coordination by creating a series of chalk circles or squares across your surface—spacing them far enough apart to require a stretch but close enough to remain manageable. I like varying the sizes and colors to keep things visually engaging.
Challenge your child to hop from one stone to the next without touching the ground. You can introduce rules like skipping every other stone or moving backward through the sequence. As their confidence grows, I recommend increasing the distances or adding curved pathways instead of straight lines.
This activity strengthens leg muscles and proprioception while keeping them entertained. It’s simple to set up, requires minimal materials, and provides excellent physical development for young children.
7. Target Hopping Game
Building on the balance work from stepping stones, target hopping takes the concept further by introducing precision and accuracy into the mix. I’ll draw several circles on the pavement using different colored chalk, spacing them about two feet apart in a winding pattern. You’ll hop from circle to circle on one foot, then switch legs halfway through the course. This challenges your coordination and strengthens your leg muscles simultaneously.
For added difficulty, I can make circles smaller or vary the distances between them. You might also try different hopping styles—backwards, sideways, or in a zigzag pattern. This game builds focus and control while keeping the fun factor high. It’s an excellent way to improve balance and agility without feeling like exercise.
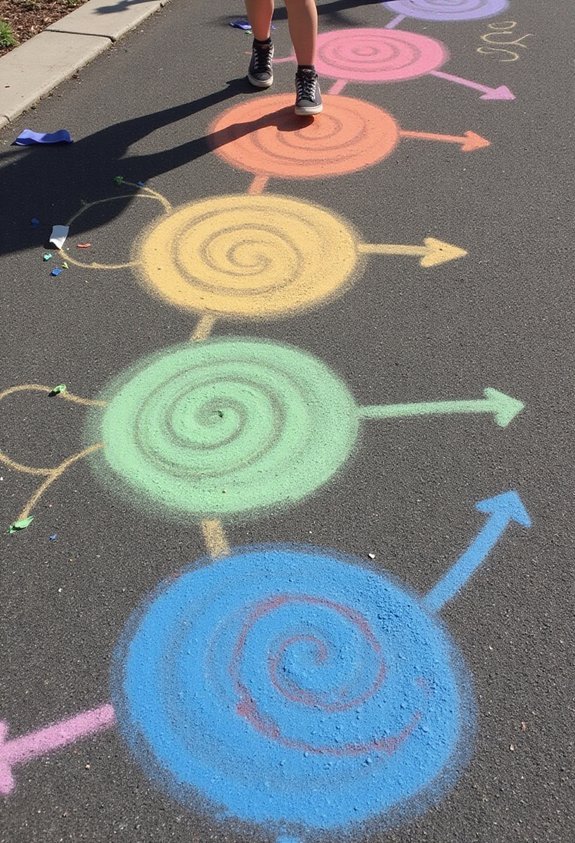
8. Spiral Challenge Route
As we escalate the difficulty, I’ll create a spiral pattern on the pavement that winds inward from a large outer circle to a small center point. Your child follows the chalk line while hopping on one foot, then alternating feet on the return journey outward. This challenge builds balance, coordination, and endurance simultaneously.
I recommend making the spiral wide enough that kids can navigate it safely without stumbling. You can adjust the complexity by tightening or loosening the spiral’s curves. Add time challenges—can they complete it faster than their previous attempt? This exercise strengthens ankle stability and improves focus. Kids love racing against the clock, making it both fun and beneficial for their physical development.
9. Ladder Climb Simulation

Let me draw parallel lines on the pavement to create a ladder pattern, spacing the rungs about 12 inches apart. You’ll step through each rung as if climbing an actual ladder, lifting your knees high with each movement.
This challenge builds coordination and leg strength while keeping kids engaged. You can increase difficulty by requiring them to hop on one foot through the rungs or move backward. Time their completion to encourage faster runs and friendly competition.
Vary the spacing between rungs to accommodate different age groups—younger children benefit from wider gaps, while older kids can handle tighter intervals. You might add rules like skipping certain rungs or moving sideways to keep the activity fresh and exciting across multiple attempts.
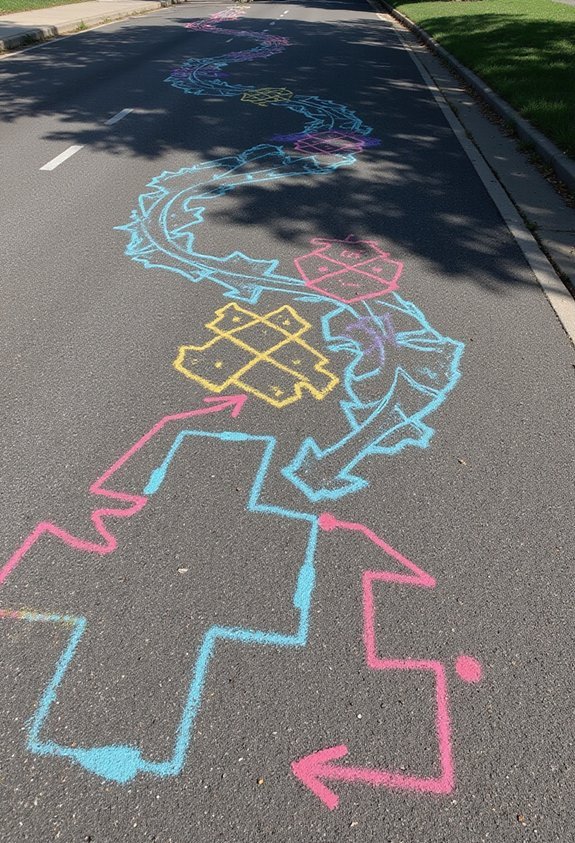
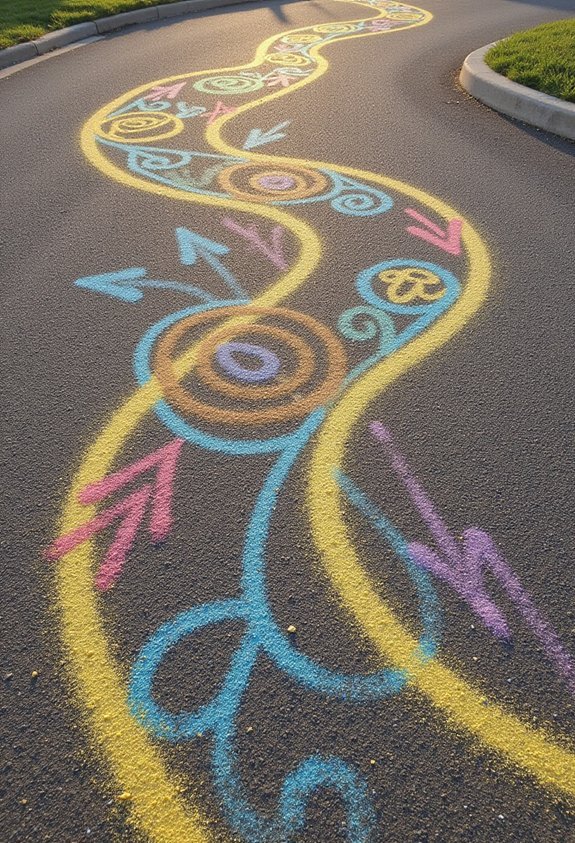
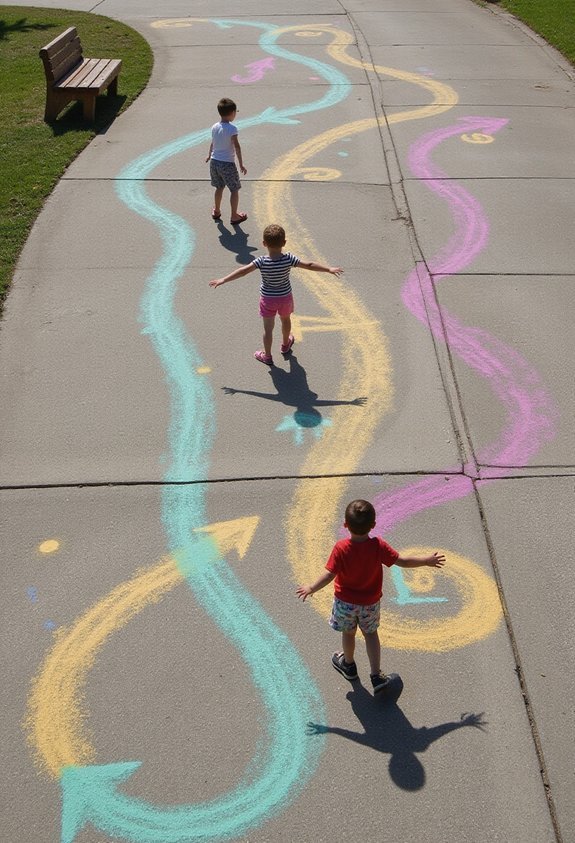
10. Arrow Direction Course
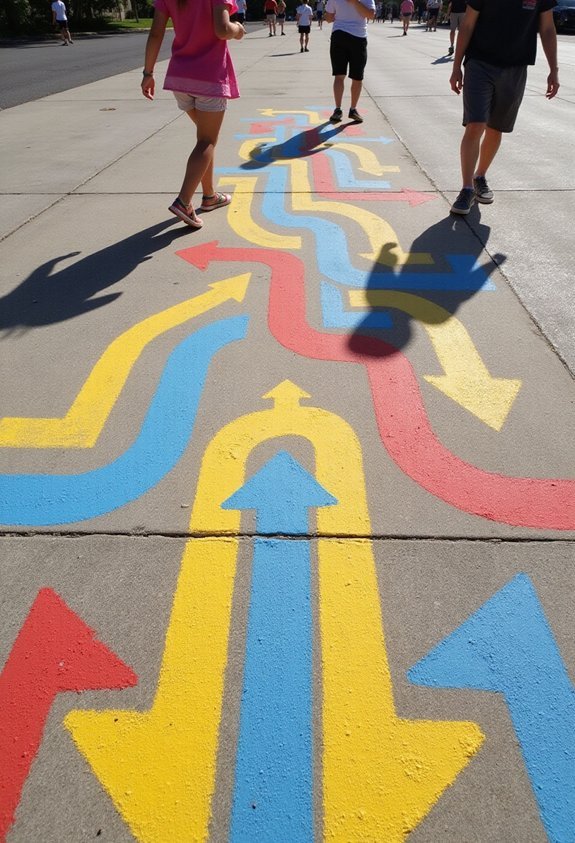
How can you challenge kids to follow visual cues while moving through space? I’ll draw arrows on your driveway or sidewalk, creating a winding path that demands focus and agility. The arrows point in various directions—left, right, forward, backward—forcing participants to change course quickly.
Kids must follow each arrow precisely, stepping only on designated spots. You can increase difficulty by making the path longer or adding sharper turns. I’ve found that varying arrow sizes keeps children engaged, as smaller arrows require closer attention.
This course develops directional awareness, coordination, and concentration. You can time participants to add competition, or simply let them enjoy traversing the colorful route. It’s an excellent activity for burning energy while sharpening observational skills.
11. Shape Recognition Obstacle
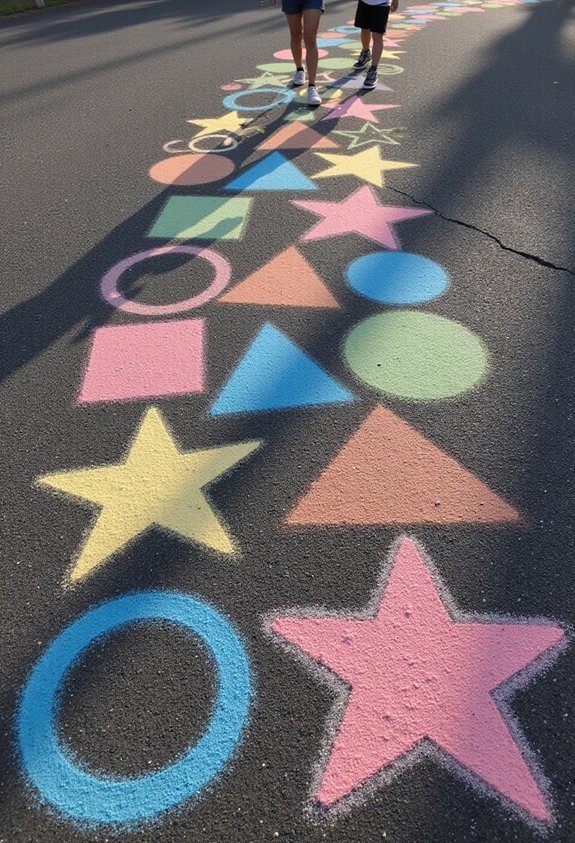
What if I could combine learning with movement? A shape recognition obstacle does exactly that. You’ll draw various shapes on your driveway or sidewalk—circles, squares, triangles, and stars—spacing them apart. Your child runs from shape to shape while you call out which one they must touch next. They’ll hop on circles, skip to triangles, or jump inside squares. This activity strengthens their shape identification skills while boosting cardiovascular fitness. You can increase difficulty by adding more shapes, calling them faster, or requiring specific movements like crawling or backwards running to reach each shape. It’s an engaging way to reinforce early learning concepts through play and physical activity.
12. Rainbow Hop Pathway
Kids absolutely love hopping across a vibrant rainbow you’ve drawn on the pavement. I’ve found that this activity combines physical exercise with color recognition in one engaging game.
Here’s how I set it up: I draw seven colored arcs using chalk, making each stripe wide enough for little feet. Then I call out colors, and children hop from one band to the next. You can increase difficulty by having them hop on one foot or skip backward.
This pathway develops balance, coordination, and listening skills simultaneously. I often add challenges like “hop twice on red” or “jump over yellow.” Kids stay entertained for extended periods while burning energy outdoors.
13. Number Sequence Jump
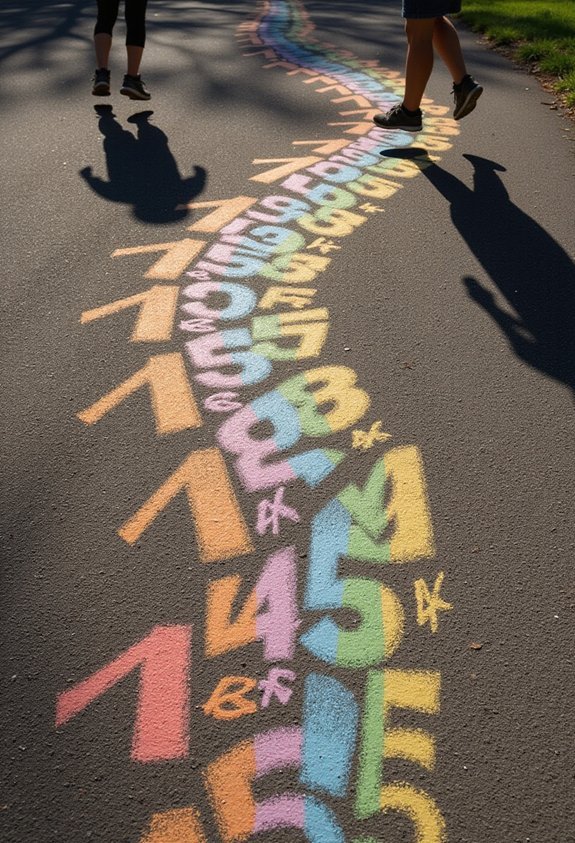
I’ve set up this activity by drawing numbered squares in sequence across the pavement, and children jump from one number to the next while counting aloud. This simple game combines physical exercise with math practice, making learning enjoyable and interactive.
You can customize the difficulty by varying the sequence. Start with numbers one through ten for younger kids, then progress to higher counts or skip-counting by twos and fives for older children. You might even create backwards sequences to challenge their skills further.
The activity strengthens leg muscles and coordination while reinforcing number recognition and sequential thinking. Children stay engaged longer when you encourage them to jump faster or higher with each round. This obstacle course element keeps them motivated and entertained while building confidence in their mathematical abilities.
14. Tunnel Vision Crawl
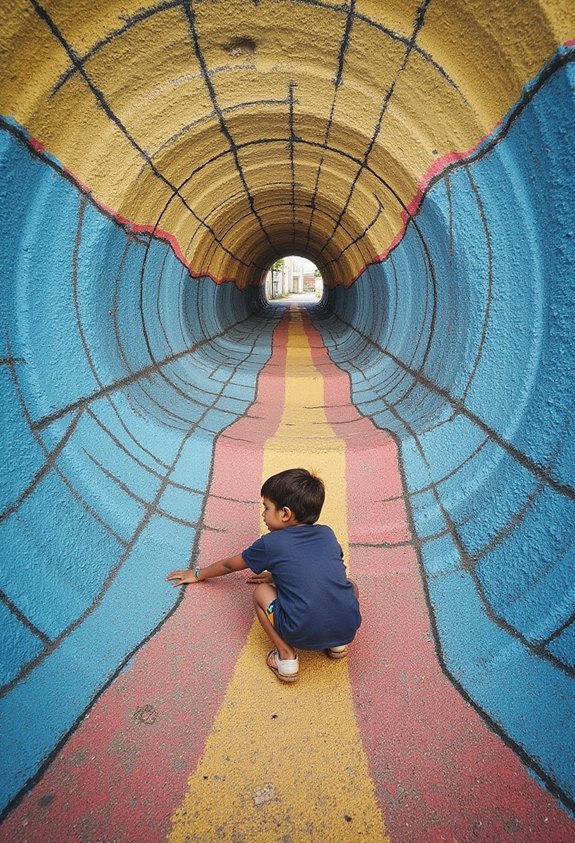
Creating chalk tunnels on the pavement offers an exciting crawling challenge that develops strength and spatial awareness. I’ll show you how to build this engaging obstacle.
Draw rectangular tunnels using chalk, making them wide enough for kids to crawl through comfortably. Vary the tunnel widths and lengths to increase difficulty. You can create straight passages, curved routes, or zigzag patterns that require directional changes.
Kids crawl through these chalk-outlined spaces, traversing the boundaries without touching the lines. This activity strengthens their arms, shoulders, and core muscles while improving body control and spatial orientation.
To enhance the challenge, I suggest adding time limits or creating multiple connected tunnels. You can also incorporate turns and elevation changes using nearby objects. This keeps children engaged while building confidence and physical fitness in a fun, creative way.
15. Finish Line Victory Sprint
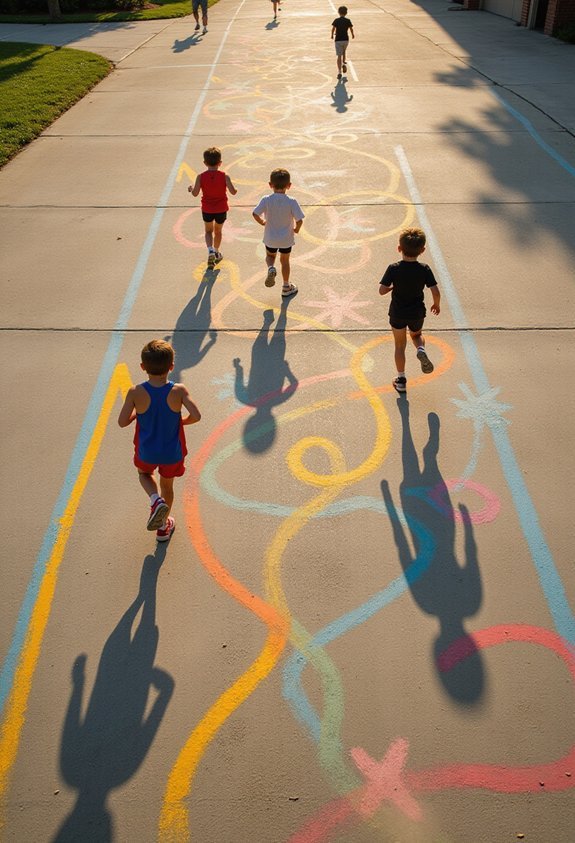
Everyone loves the thrill of racing toward a finish line, and chalk offers an ideal way to establish one that’ll motivate kids to sprint with enthusiasm. I’ve found that drawing a bold, colorful line across your obstacle course creates a powerful visual target that energizes runners.
You can enhance the experience by adding celebratory elements. Draw cheering crowds on either side, create confetti designs, or sketch trophy symbols beyond the line. Kids respond enthusiastically to these details.
For added competition, I time each participant and keep a leaderboard nearby. You might also incorporate a victory pose area where kids can strike their winning stance for photos.
This finale transforms your chalk course from simple activity into a memorable athletic achievement that’ll have kids returning for repeat attempts.
Frequently Asked Questions
What Age Groups Are Appropriate for Different Chalk Obstacle Course Difficulty Levels?
I’d recommend beginner courses for ages 3-5, intermediate challenges for kids 6-8, and advanced obstacle courses for those 9 and up. I’ve found that matching difficulty to developmental stages keeps children engaged, confident, and safe while they’re having fun.
How Long Does It Typically Take to Complete a Full Chalk Obstacle Course?
I’d say you’ll typically finish a full chalk obstacle course in 5-15 minutes, depending on complexity and your child’s age. Younger kids might take longer, while older children breeze through faster. You can always adjust difficulty to match their skill level.
What Safety Equipment or Precautions Should Parents Consider Before Starting?
I’d recommend you guarantee your child wears proper sneakers for traction, apply sunscreen for outdoor courses, and clear the area of hazards. I’d also suggest supervising closely and having a first-aid kit nearby in case of minor scrapes.
Can Chalk Obstacle Courses Be Modified for Children With Physical Limitations?
I’ll absolutely modify chalk courses for your child’s needs. You can adjust obstacle heights, create wider pathways, use gentler slopes, and incorporate seated or standing-only challenges. I’d recommend consulting your child’s therapist to guarantee modifications match their abilities perfectly.
How Do You Maintain Chalk Markings During Windy or Rainy Weather Conditions?
I’d recommend using chalk spray sealant or fixative spray to protect your markings from weather. You’ll also want to redraw lines frequently and consider setting up your course in sheltered areas. I’ve found that storing chalk indoors and reapplying after rain works best.
Conclusion
You’ve now got fifteen fantastic chalk obstacle courses ready to transform your outdoor space into a playground of movement and imagination. Whether you’re drawing hopscotch grids or intricate mazes, you’re giving your kids the gift of active play that builds strength, coordination, and problem-solving skills. These simple chalk designs cost almost nothing but deliver hours of entertainment and physical development. Get your chalk ready and watch your kids thrive.