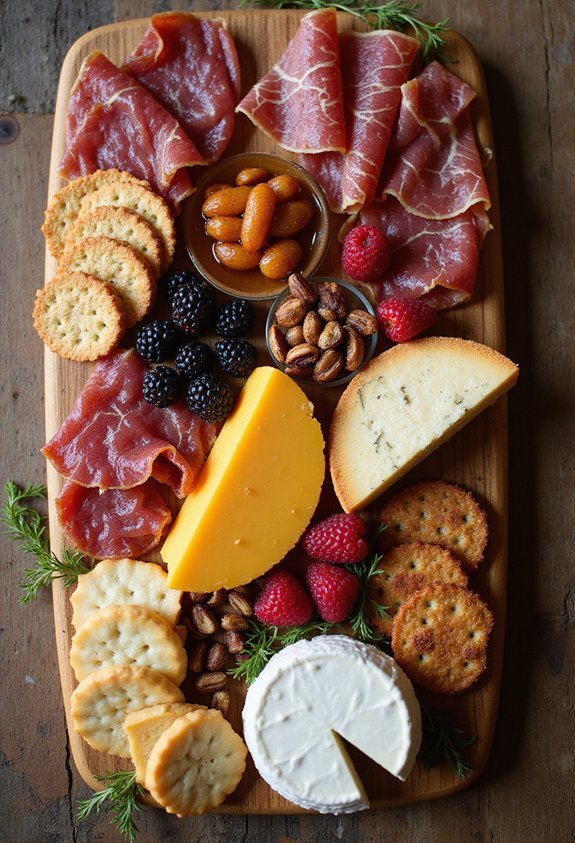
Arranging cheese and cured meats on a board for the first time, I realized there’s no wrong way to do it. My first attempt looked scattered and sparse, gaps between items like I hadn’t thought it through. Then I started filling those spaces, layering things slightly on top of each other, letting colors and textures overlap. Suddenly it looked intentional instead of accidental.
Charcuterie platter ideas don’t require fancy ingredients or culinary training. They require understanding that contrast matters. Salt next to sweet. Soft textures beside something crispy. Colors that catch the eye. Nuts filling the gaps. Fruit adding brightness.
What I learned is that a good platter invites people to try things they might not choose on their own. It creates conversation around the table, people pointing and asking what something is, tasting flavors they didn’t expect. That’s the real purpose. Not perfection, but invitation.
Classic Charcuterie Board Essentials

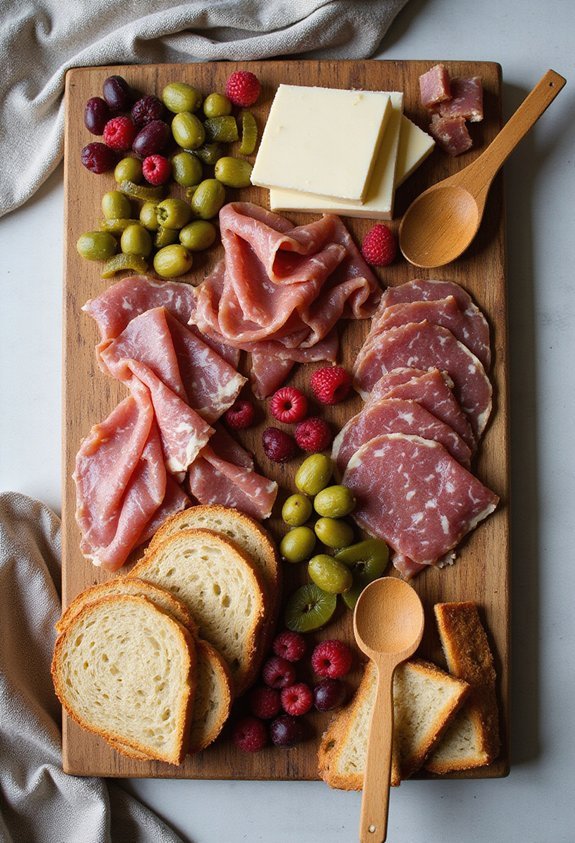
When you’re building a charcuterie board, you’ll want to start with the fundamentals: cured meats, cheeses, and crackers. I’ve found that varying your selections creates visual interest and keeps guests engaged.
For cured meats, I choose three to four types—prosciutto, salami, and chorizo work beautifully together. With cheeses, I mix textures: a creamy brie, sharp cheddar, and a crumbly blue cheese offer diverse flavors. Don’t forget crackers in multiple varieties—water crackers, seeded options, and breadsticks give you versatility.
Beyond these essentials, I add depth with olives, nuts, and fresh fruit. Grapes and figs complement the salty elements perfectly. A honey drizzle or fig jam elevates the board’s sophistication.
Arrange everything thoughtfully, leaving space for guests to place their selections. This foundation transforms a simple gathering into an impressive culinary experience.
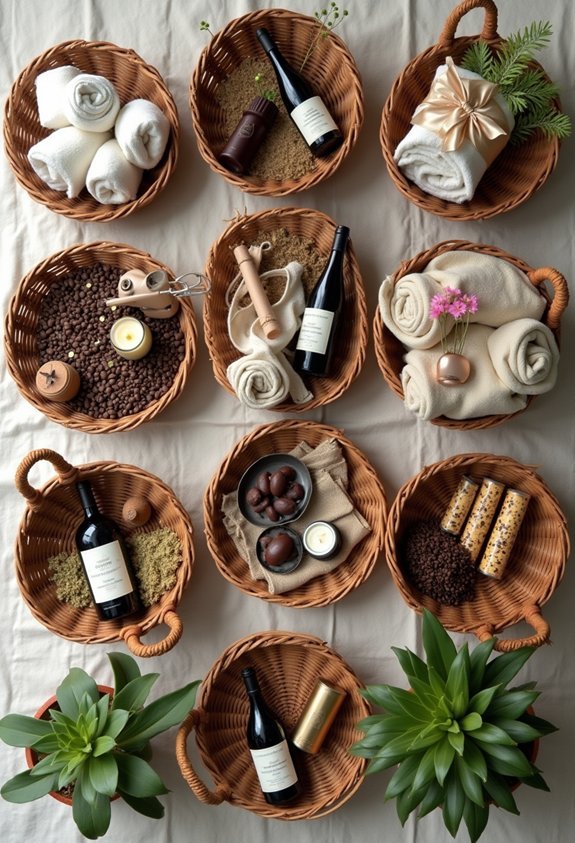
Also read: 19 Themed Gift Basket Ideas That Feel Thoughtful
Budget-Friendly Platter Options
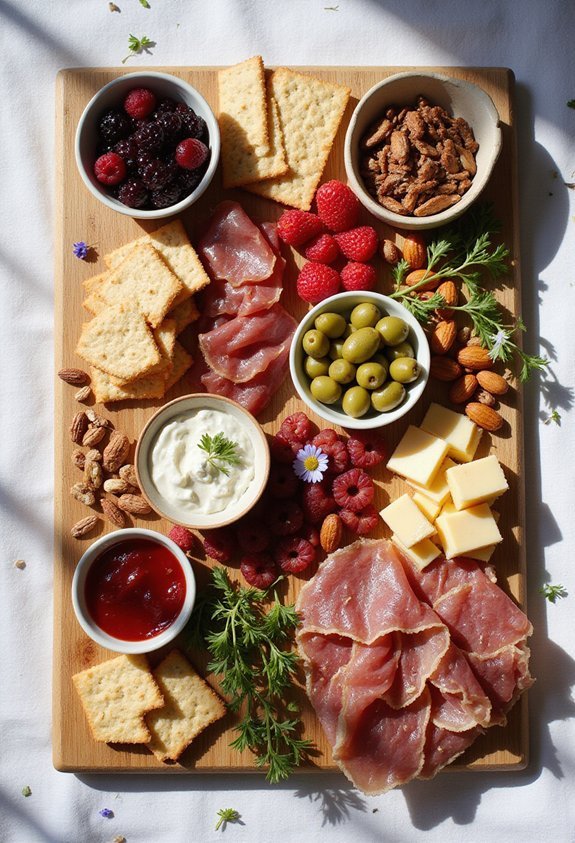
You don’t need to spend a fortune to create an impressive charcuterie board. I’ve discovered that budget-friendly options don’t sacrifice quality or appeal. Start with affordable cheeses like cheddar, gouda, and brie, which offer flavor without premium pricing. Pair these with budget meats such as salami and prosciutto ends, often available at discount prices from the deli counter.
Fill your board with inexpensive crackers, bread, and seasonal fruits like apples and grapes. Add nuts, olives, and pickles—all wallet-friendly staples that add variety and texture. I recommend shopping at discount grocery stores or ethnic markets for better prices on imported items.
This approach lets you create a stunning, delicious board for half the typical cost, proving that elegance and affordability can coexist beautifully.
Dietary-Restriction Friendly Boards
Since dietary needs vary widely among your guests, I’ve found that inclusive charcuterie boards actually expand your creative options rather than limit them. I create dedicated sections for different dietary groups: gluten-free crackers, dairy-free cheeses, and plant-based proteins like nuts, seeds, and hummus.
For vegan guests, I incorporate olives, roasted vegetables, fresh fruit, and quality nut butters. Nut-free boards feature seeds, legume snacks, and additional cheese varieties. I always label items clearly so everyone knows what’s safe to consume.
This approach eliminates anxiety around cross-contamination and guarantees nobody feels excluded. I’ve noticed that thoughtfully designed dietary-friendly boards often become the most visually interesting ones, with greater variety and color. Your guests appreciate the consideration, and you’ll feel confident serving everyone at your table.
Themed Charcuterie Combinations
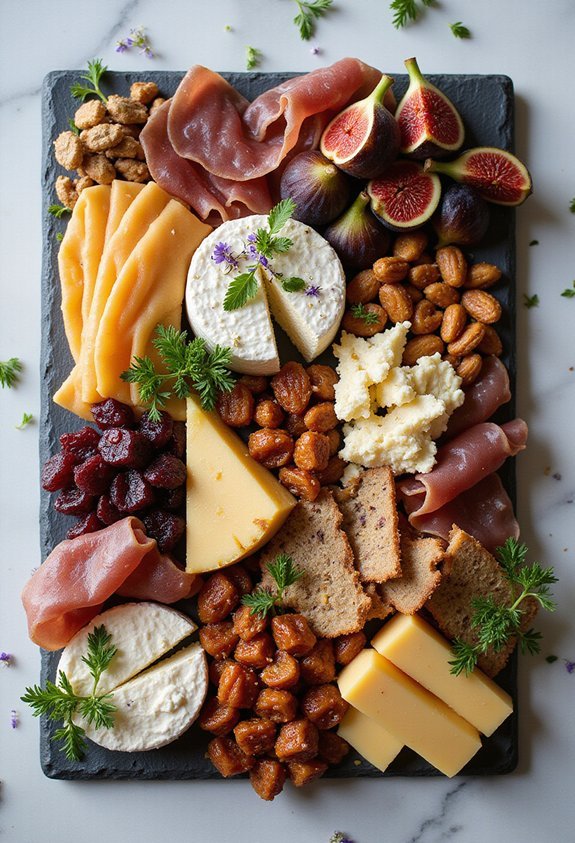
Beyond accommodating dietary needs, I’ve discovered that organizing boards around a specific theme transforms them into memorable experiences. You can create an Italian board featuring prosciutto, aged parmesan, and olives, paired with crackers and fresh figs. A French-inspired option works beautifully with brie, cornichons, and pâté alongside crusty bread. For something tropical, I combine prosciutto with mango, coconut flakes, and macadamia nuts. A Spanish theme shines with chorizo, manchego cheese, and marcona almonds. You might try a Mediterranean board with hummus, feta, roasted peppers, and pita chips. These themed combinations guide your selections naturally, making shopping easier and presentation more cohesive. Guests appreciate the intentional curation, and you’ll spend less time second-guessing ingredient pairings.
Pro Tips for Arranging and Serving
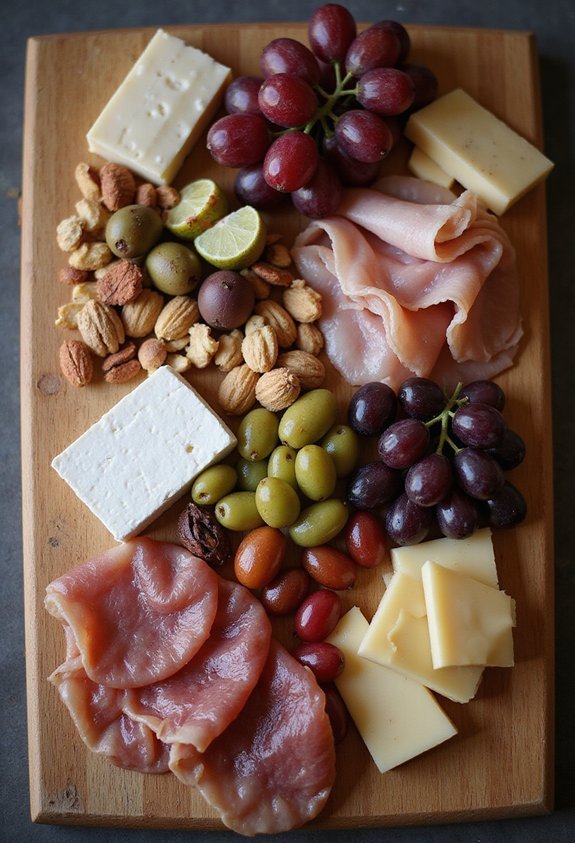
Once you’ve settled on your theme, the presentation itself makes all the difference. I’ve found that arranging items by height creates visual interest—stack cheeses, prop crackers upright, and layer cured meats for dimension. Leave some space between groups rather than cramming everything together; this prevents flavors from muddling and makes grabbing items easier.
I place cured meats and cheeses opposite each other to encourage movement across the board. Small bowls of olives, nuts, or jams fill gaps naturally. For serving, I set out small plates and utensils so guests don’t double-dip. Keep your platter cool by placing it on a chilled surface or setting the board over ice.
These simple touches transform a casual spread into something guests genuinely enjoy.
Frequently Asked Questions
How Far in Advance Can I Prepare a Charcuterie Board Before Serving Guests?
I’d recommend preparing your charcuterie board up to 24 hours before serving. I store it covered in the refrigerator, which keeps everything fresh and flavorful. However, I add delicate items like fresh berries just before guests arrive to prevent them from getting soggy.
What’s the Ideal Serving Temperature for Cured Meats and Cheeses on Boards?
I’d recommend serving cured meats at room temperature—around 65-70°F—so you’ll taste their full flavor. For cheeses, I keep them slightly cooler at 55-60°F. You’ll want to remove them from the fridge 30-45 minutes before guests arrive for ideal enjoyment.
How Do I Prevent Cheese From Drying Out During a Charcuterie Board Service?
I’d recommend you keep your cheese covered until serving time, then add it last to your board. You’ll want to serve it promptly and store any leftovers in airtight containers. I also suggest you avoid placing cheese directly under warm lights.
What Beverages Pair Best With Different Types of Charcuterie Boards?
I’d recommend pairing red wines with cured meats, white wines with cheese, and sparkling beverages with everything. You’ll find beer complements charcuterie nicely too. I suggest matching bolder drinks with intense flavors and lighter options with delicate selections for best results.
Can I Reuse Leftover Charcuterie Items, and How Should I Store Them?
I’d absolutely reuse leftover charcuterie items! Store cured meats in airtight containers in your fridge for up to five days. Keep cheeses wrapped tightly and consume within a week. You’ll save money while enjoying delicious snacks later.
Conclusion
I’ve shown you that charcuterie boards aren’t complicated—they’re incredibly adaptable to your needs and style. Whether you’re working with a tight budget, catering to dietary restrictions, or showcasing a specific cuisine, you’ll find an option that works. With these ideas and arrangement tips, you can confidently create an impressive platter that’ll impress your guests and satisfy every palate at your next gathering.